How to Look Flawless in Your Wedding Photos
Hey beautiful! Let’s talk about one of the most important parts of your wedding day glam: making sure your makeup looks just as stunning in your photos as it does in person. After all, these are the photos you’ll cherish forever! As a makeup artist, I know that what looks perfect in the mirror doesn’t always translate flawlessly on camera. It requires specific techniques to get that photo-ready finish.
I’m here to take you behind the scenes and share my pro secrets for looking incredible from every angle. In this guide, we’ll dive into:
- Why Your Makeup Looks Different in Photos
- Avoiding Flashback and Unwanted Shine
- Defining Your Features for the Camera
- Setting Your Makeup to Last All Day
My goal is to give you complete confidence, knowing you’ll look back on your photos and love what you see. This is such a key part of your planning, and it all fits into A Bride’s Journey to Perfect Wedding Makeup.
As your go-to mobile bridal MUA in Wollondilly and the Southern Highlands, I specialise in creating looks designed for the camera. If you’re ready to plan your own flawless, photo-ready glam, please Get In Touch With Me Here.
Frequently Asked Question (FAQs)
When it comes to looking perfect in your wedding photos, it’s completely normal to have a few questions! Here are the answers to some of the most common things I chat about with my beautiful Wollondilly brides.
Q1. Why does my face sometimes look white or pale in flash photos?
This is usually caused by an ingredient in your makeup or skincare called SPF. While it is amazing for protecting your skin from the sun, it can create a white cast under a camera’s flash, which is known as ‘flashback’. As a professional, I use specific, SPF-free products for all my brides to completely avoid this issue.
Q2. Is a matte or dewy foundation better for wedding photos?
The best finish is a beautiful ‘satin’ mix of both! A fully dewy look can sometimes look oily in flash photos, while a fully matte look can appear flat. A satin finish gives you a radiant glow that looks incredible. Deciding on your finish is part of choosing between Soft Glam Vs. Full Glam.
Q3. Will false lashes look too dramatic in my wedding photos?
Not at all, when they are chosen and applied correctly by a professional! False lashes are actually essential for wedding photos to ensure your eyes have beautiful definition on camera.
- They prevent your eyes from looking small or ‘lost’ in photos.
- They add dimension and depth that flash photography can often wash out.
- I use soft, wispy styles that enhance your natural eye shape without ever looking heavy.
Q4. How do I keep my lipstick looking perfect for photos all day?
I use a two-part strategy to ensure your lipstick looks perfect all day! This combines a durable professional application with the complimentary touch-up kit I provide for you to keep.
- Professional Application: I start by creating a long-lasting base using a lip liner and durable lipstick formula.
- Your Personal Touch-Up Kit: I give all my brides their exact lip colour for quick and easy touch-ups after eating or drinking. You can learn all about it in my Makeup Touch Up Kit.
Why Your Makeup Looks Different in Photos
Have you ever done your makeup, thought it looked perfect, and then been shocked by a photo? You are not alone! A camera lens does not see the world like our eyes do. It compresses dimensions, intensifies light and shadow, and can wash out subtle colours. This is why makeup for photography is a special skill, designed to work with the camera, not against it.

The biggest culprit is the camera’s flash and the professional lighting used by photographers. This intense, flat light can bounce off the skin in unexpected ways and eliminate the natural shadows that give your face shape. It’s why a makeup artist’s job is to almost ‘rebuild’ those dimensions with strategic contouring and blush, so your features look defined and beautiful, not flat, in your final wedding photos.
Cameras Flatten Your Face:
Our eyes see in 3D, but a photo is a 2D image. This means the natural curves and shadows of your face can get lost. That’s why we apply slightly more blush and contour for photos, to bring that beautiful dimension back.
Light Bounces and Reflects:
Certain ingredients in makeup, especially SPF and some types of shimmer, act like tiny mirrors. When a flash hits them, they bounce the light straight back, causing that dreaded ‘flashback’ or unwanted shine. I carefully select products that absorb light beautifully.
Subtle Colours Can Disappear:
The soft, rosy flush you see in the mirror might be completely washed out by the camera’s intensity. We often need to use colours that are a little deeper or more pigmented than your everyday look to ensure they show up beautifully in your photos. This is something we perfect during a Bridal Makeup Trial.
Avoiding Flashback and Unwanted Shine
The two biggest photo-killers are ‘flashback’ (that ghostly white cast from SPF) and shine that reads as oily instead of glowy. The secret to avoiding both is a combination of product choice and application technique. I always use SPF-free foundation and strategically place powder to control shine on the t-zone, while leaving other areas radiant for a perfect on-camera glow.

For a beautiful, modern bridal look, we want a gorgeous glow, but it has to be in the right places! Uncontrolled shine on the forehead, nose, and chin can make you look oily in photos. My technique is to create a ‘bulletproof’ base and then be very deliberate about where we add back that radiance, usually on the high points of the cheeks and the brow bone. This controlled approach is the key to looking radiant, not greasy.
Say ‘No’ to SPF in Your Foundation:
This is my number one rule for photo makeup. The ingredients in most SPFs, like zinc and titanium dioxide, are designed to reflect light, which is what causes that dreaded white cast in flash photography. I always use a professional, high-definition foundation with no SPF to guarantee this never happens.
Translucent Powder is Your Best Friend:
To control shine without adding heavy texture, I use a very finely milled, translucent setting powder. I’ll lightly press it into the t-zone (your forehead, nose, and chin) to absorb any excess oil. This keeps you looking fresh and matte in the areas that tend to get shiny first.
Blotting Papers for Touch-Ups:
For touch-ups throughout the day, blotting papers are a lifesaver. They lift away oil without disturbing the makeup underneath, which is so much better than caking on more powder. This is one of the key 4 Common Makeup Mistakes Brides Should Never Make, as over-powdering can look heavy in photos.
Defining Your Features for the Camera
One of the biggest surprises for brides is how soft, natural makeup can look ‘washed out’ in professional photos. The camera and its flash can flatten your face and diminish subtle colours. To counteract this, my job is to strategically define your features with a little more depth than your everyday look, ensuring your eyes, cheeks, and lips all pop beautifully.

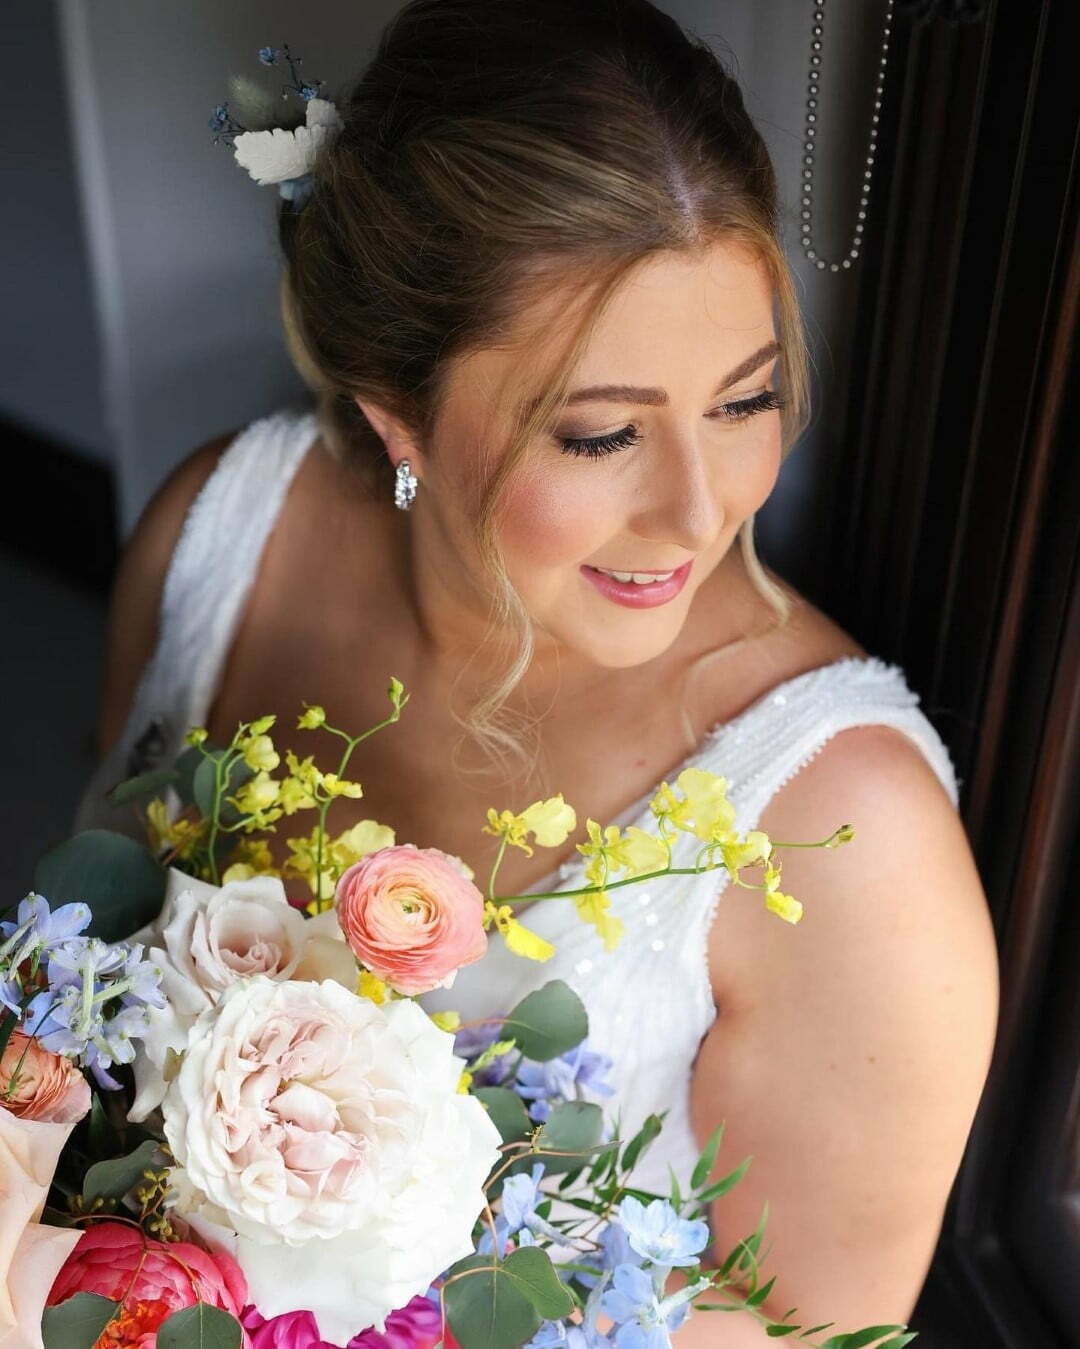
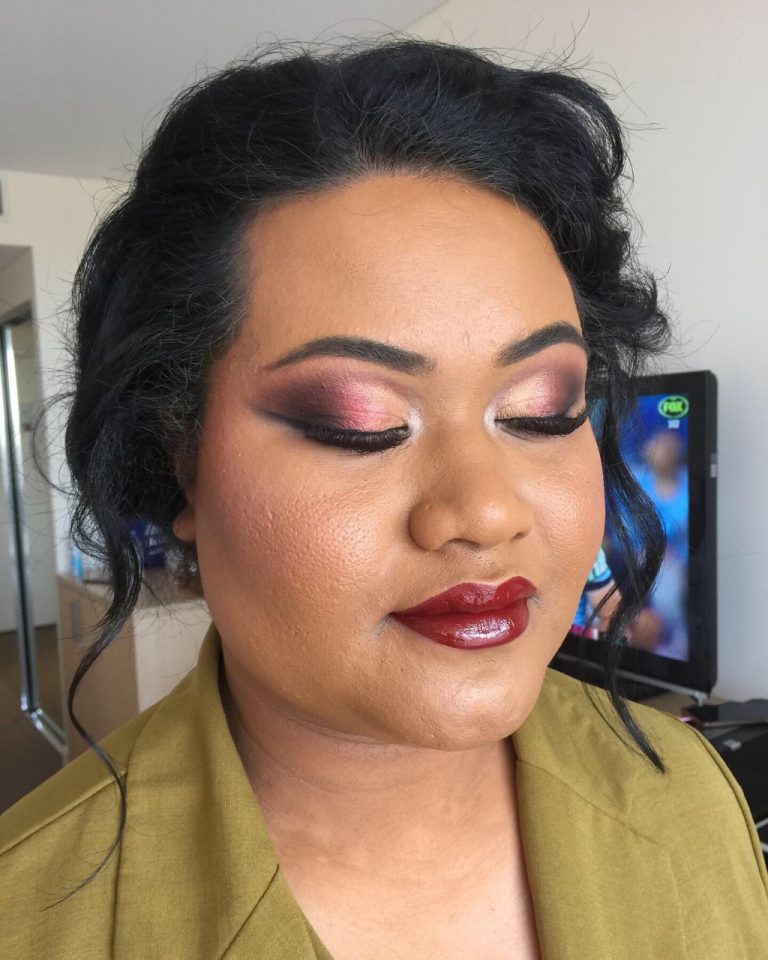
This does not mean we need to do heavy or dramatic makeup! It is a delicate balancing act that depends on your personal style, which is a key part of the Soft Glam Vs. Full Glam decision we make together. It’s about using slightly richer tones for your blush and bronzer to bring back the natural shadows of your face. For your eyes, it means layering eyeshadows to create depth and using liner and lashes to make them the focal point. The goal is a look that feels light and natural in person, but has just enough structure to look defined on camera.
Don’t Be Afraid of Blush:
Blush is the first thing to disappear on camera, so I always apply a little more than you might be used to. A pop of a rosy or peachy cream blush on the apples of your cheeks brings life and dimension back to your face in photos.
Strategic Sculpting with Bronzer:
Instead of a harsh contour, I use a soft, matte bronzer to gently sculpt your features. A light dusting under the cheekbones and around the hairline adds warmth and ensures your face doesn’t look flat in your portraits. It’s all about creating soft, believable shadows.
Making Your Eyes the Focus:
The camera loves defined eyes. This means carefully blended eyeshadow, a fine line of eyeliner to define the lash line, and beautiful lashes to open up the eye. This creates the beautiful definition that makes your eyes the focal point in every shot.
Setting Your Makeup to Last All Day
The final, crucial step is locking in your look. A wedding day is a marathon, and your makeup needs the endurance to look just as flawless for the last dance as it did for the first look. This durability is a key part of what you’re investing in, which I explain in my guide on Bridal Makeup Vs Event Makeup Cost. Professional setting techniques are non-negotiable for a truly photo-ready finish.

Setting makeup is a multi-layered process. It’s not just a quick spray at the end. It starts with a good primer, involves setting cream products with a light powder, and finishes with a professional-grade setting spray that creates an invisible shield over the makeup. This ensures everything melds together beautifully and can withstand happy tears, hugs, and hours of celebration.
The Power of a Finely Milled Powder:
After applying foundation and concealer, I use a tiny amount of a super fine, translucent powder to set the under-eyes and the t-zone. The key is ‘finely milled’, it means the powder is so light it sets the makeup without looking cakey or settling into lines, which is vital for photos.
Choosing the Right Setting Spray:
Not all setting sprays are created equal! Some are for hydrating, some are for a dewy finish, and some are for serious, bulletproof longevity. For a wedding day, I always finish with a long-wear setting spray that locks everything in place without altering the beautiful, radiant finish we’ve created.
Don’t Forget the Lips!
For your lips, longevity comes from layering. I always apply a lip liner all over the lip first, then the lipstick, then I blot and reapply. This process creates a durable stain that will last for hours, so you only need a quick touch-up after eating.
Conclusion
Your wedding photos are your forever memories, and my passion is ensuring you look back on them with complete joy and confidence. It all comes down to a professional approach: using the right products to avoid shine and flashback, defining your features so they pop on camera, and setting your look to last. It’s this technical skill that guarantees your makeup looks just as stunning in photos as it does in person.
The best way to see these techniques in action and perfect your own photo-ready look is at a trial. You can learn all about this crucial step in my guide, Your Bridal Makeup Trial What You Need to Know.
If you are ready to create a flawless, camera-perfect look for your wedding day, I would love to chat. Please Get In Touch With Me Here To Secure Your Date.
With love and lashes,
Sara x
Book Your Date
Mobile Makeup & Hair Stylist Locations
Wollondilly Shire
- Tahmoor NSW
- Picton NSW
- Thirlmere NSW
- Bargo NSW
Southern Highlands
- Mittagong NSW
- Bowral NSW
- Moss Vale NSW
- Bundanoon NSW
Other Mobile Areas
- Macarthur NSW
- Wollongong NSW
- Kangaroo Valley NSW
- Lower Blue Mountains